
Mason rides “Motherlode”, Pipestone, MT during Pipestone-a-palooza 2014.

ultralight backpacking, bicycling, splitboarding
Mason rides “Motherlode”, Pipestone, MT during Pipestone-a-palooza 2014.
A film from Epic Montana “A Walk in the Mountains” by Colin Ruggiero tells the tale of an archery hunt deep in the mountains of Montana through intense camera angles and inspired editing.
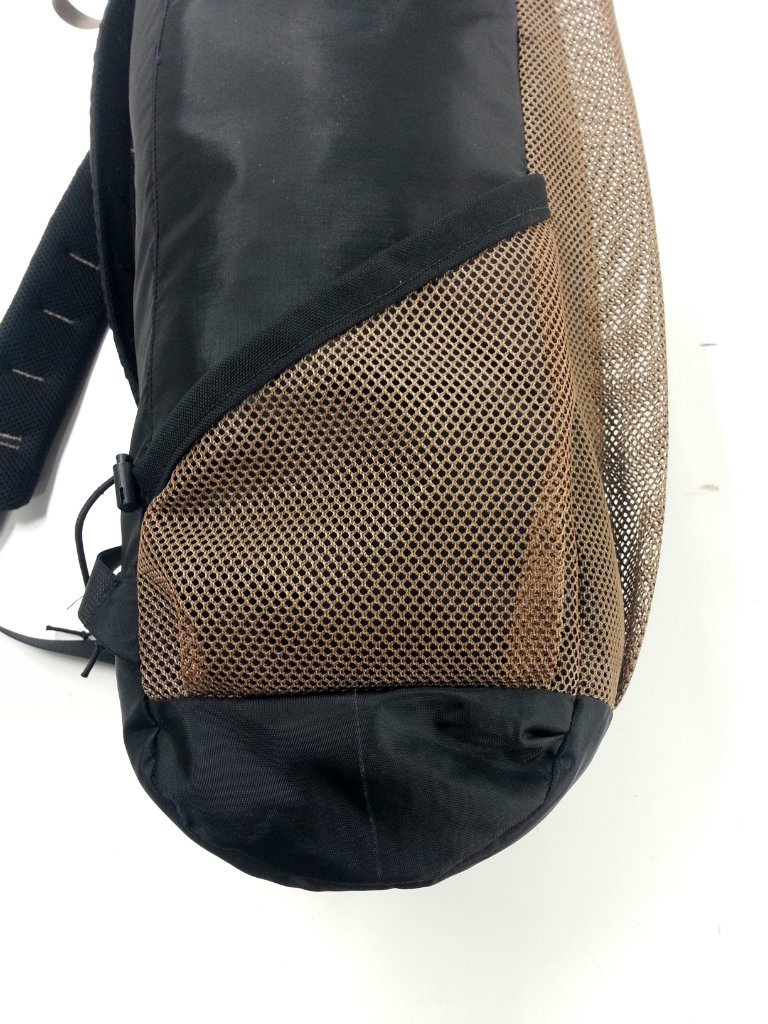
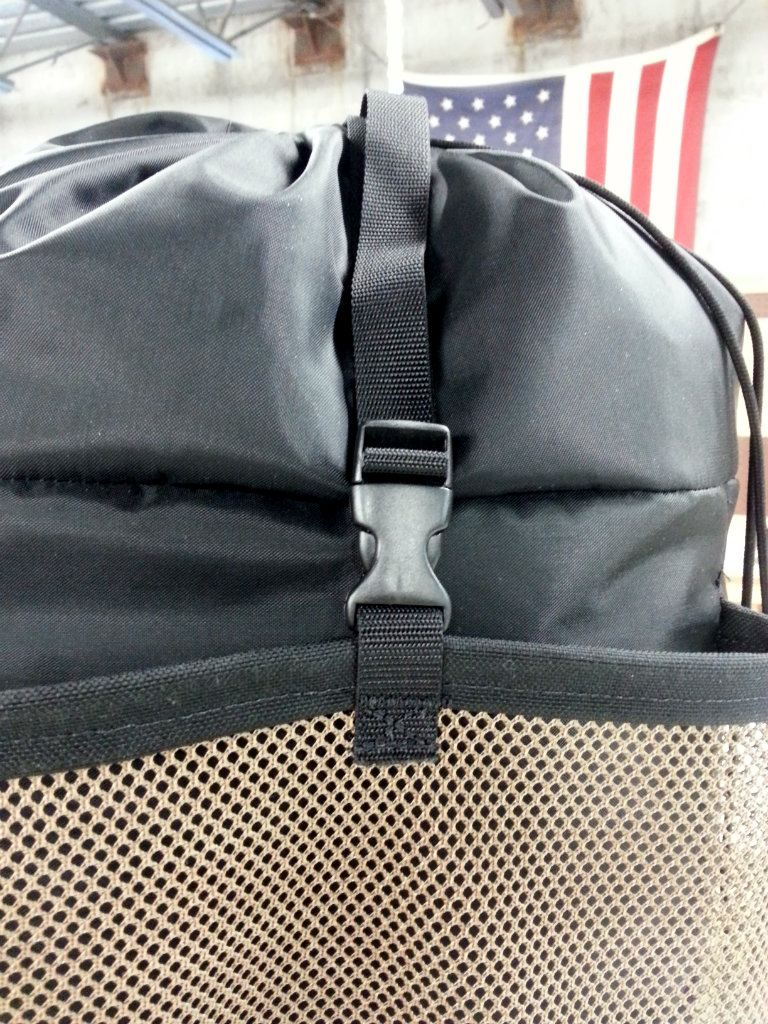
I've been on a bit of a pack kick lately and sewed up two new ones in the course of about a month. I shared pictures of my "Franken-ruck" recently but what follows was a previous work.

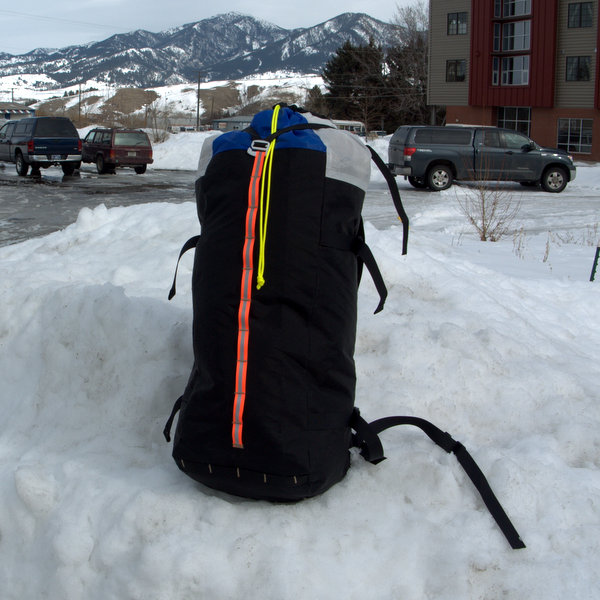
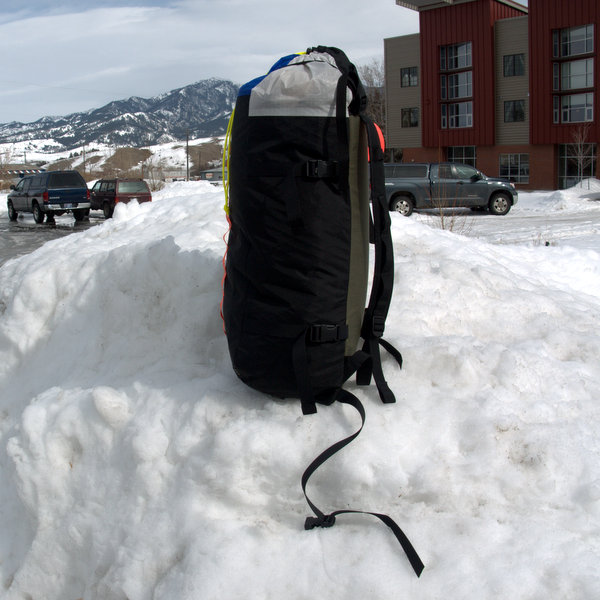
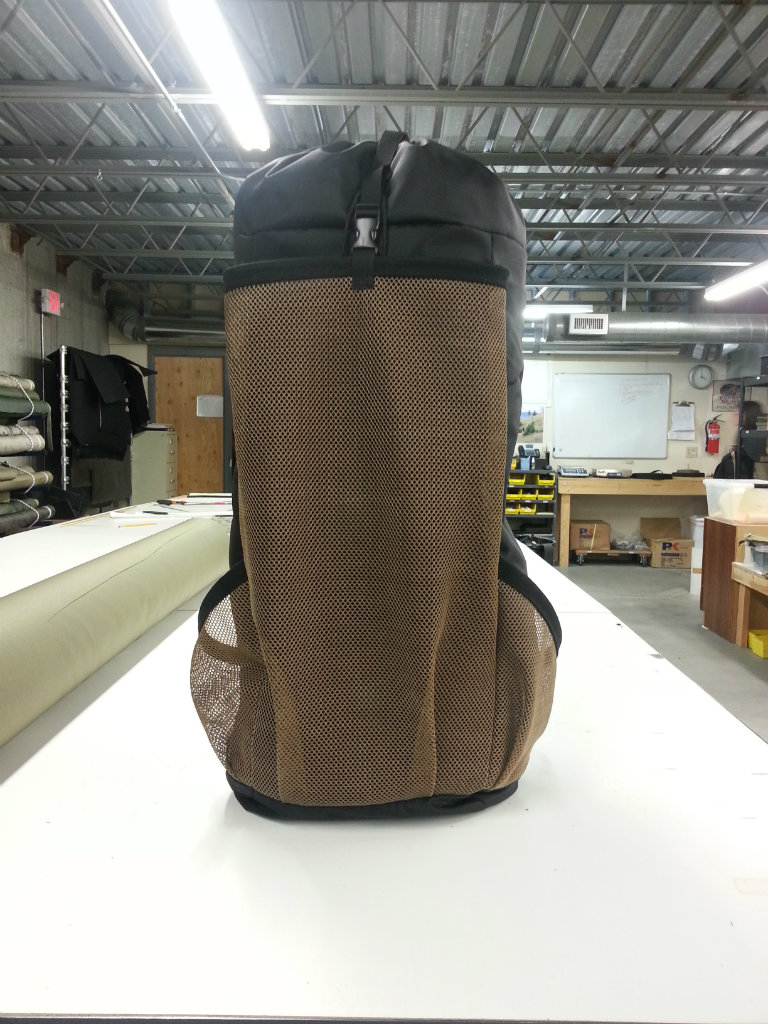
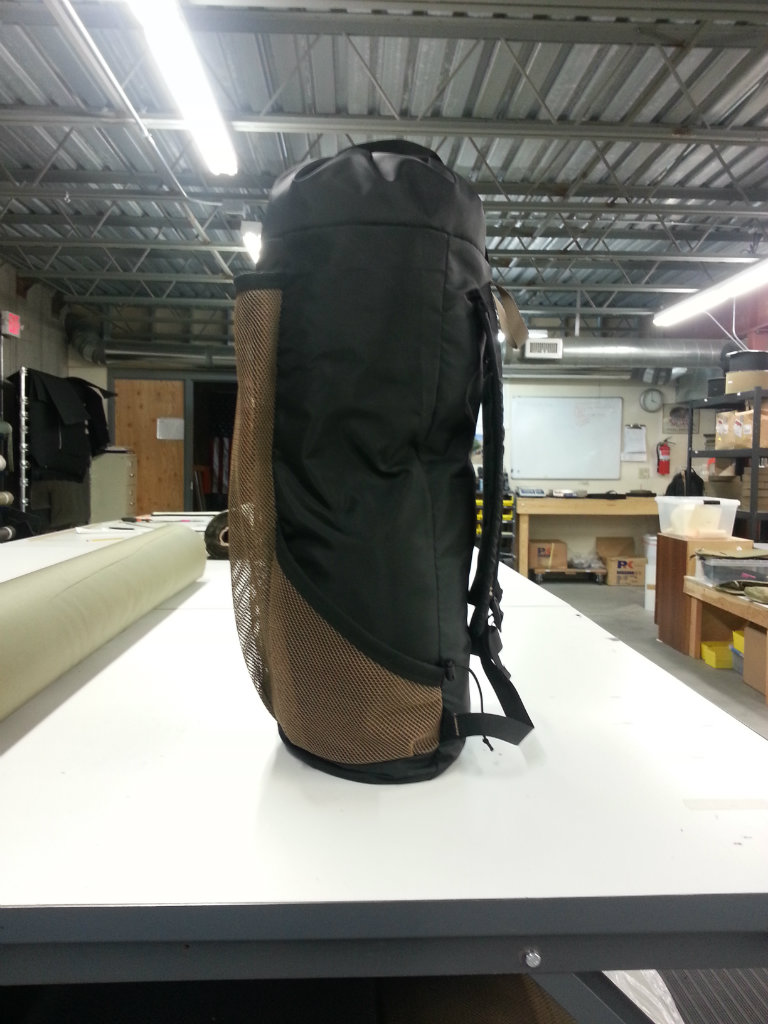
I built a new ski pack a couple weeks ago (haven’t shared photos or written about it yet) and with my pack building motivation running high I decided to move right into a project I’ve had on my bucket list for a long time.
I’ve heavily modified multiple Golite Jam Packs but have always yearned for the utter simplicity of a ruck styled after Jardine’s original design that manifested itself commercially as the Golite Breeze. I borrowed elements pretty heavily from my beloved ULA Conduit and Amp packs, some tidbits from Risk’s JJPack, as well as the inspiration of myriad other MYOG frameless rucks I’ve seen over the years.


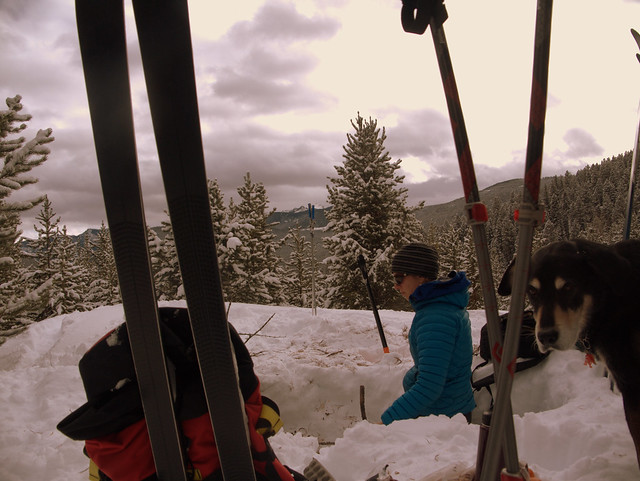
Got out for a great nine mile tour on Saturday in the Bridger Range with a buddy visiting from town. Snow conditions were stellar and after much on-the-ground analysis and two snowpits we felt comfortable picking a thousand foot avalanche path as our line of descent. All in all we were out for around six hours under beautiful sunny skies. I forgot the memory card for my SLR so my apologies for the phone can pics.


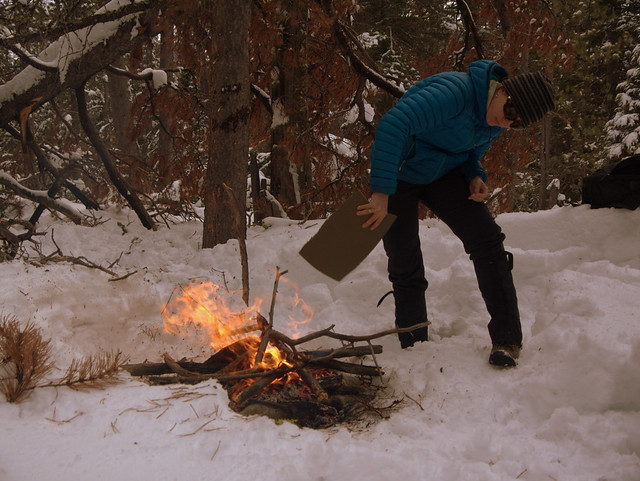
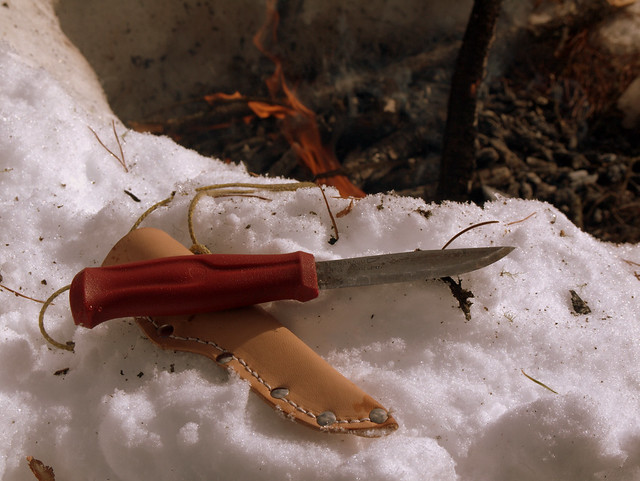
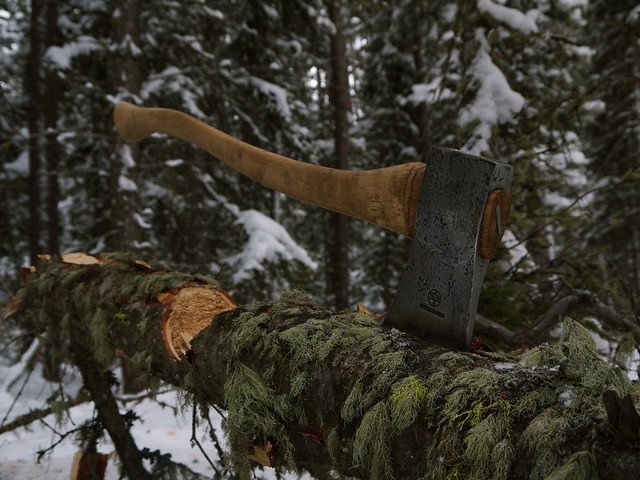
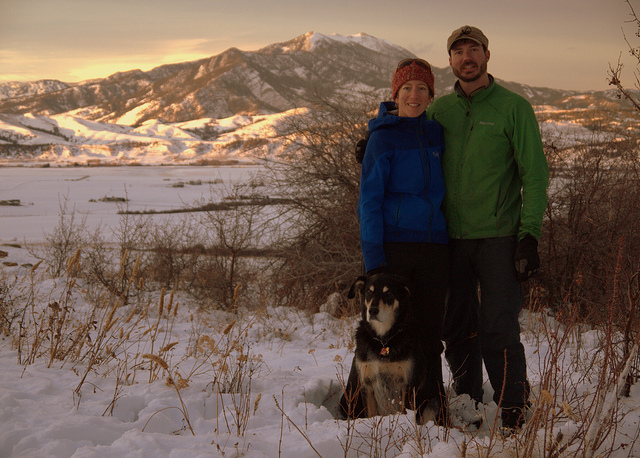
My wife and I have had a trend going this winter in which we break up our XC ski jaunts and hikes with a midday campfire and picnic. When the weather is cold a warming fire makes for a much more enjoyable lunch break. Besides, building campfires is just plain fun!


Winter bicycling can be cold in Bozeman and I gave my Bar Mitts to my wife so a set of pogies was in order. I ride a Surly Open Bar mustache style handlebar on both my daily commuter and fatbike so I built these to work with both.
I designed, patterned, and sewed these in a little under six hours this weekend. Inside is a very soft fleece over a layer of continuous filament polyester insulation. Outside is a water-shedding nylon ripstop with 1000d Multicam Cordura trims. The fleece, ripstop, and insulation set me back about $10 and the Multicam was scrap so aside from the time commitment these were pretty cheap.
Doug Chabot of the Gallatin National Forest Avalanche Center with a somewhat in-depth description on recording snow pit data.